Shop Here for Books

Sunday 18 March 2012

A Pig - The Tutorial

Hiya

Firstly, apologies for the lack of updates - I've been having a few issues with the layout on Blogger and have been a little busy!

The last two weeks of classes have consisted of making a few more flowers and learning how to cover a cake board and hide the joins between the board and the cake. This week we are doing the cake itself so fingers crossed I will have something to show you.

Now though, the pig!

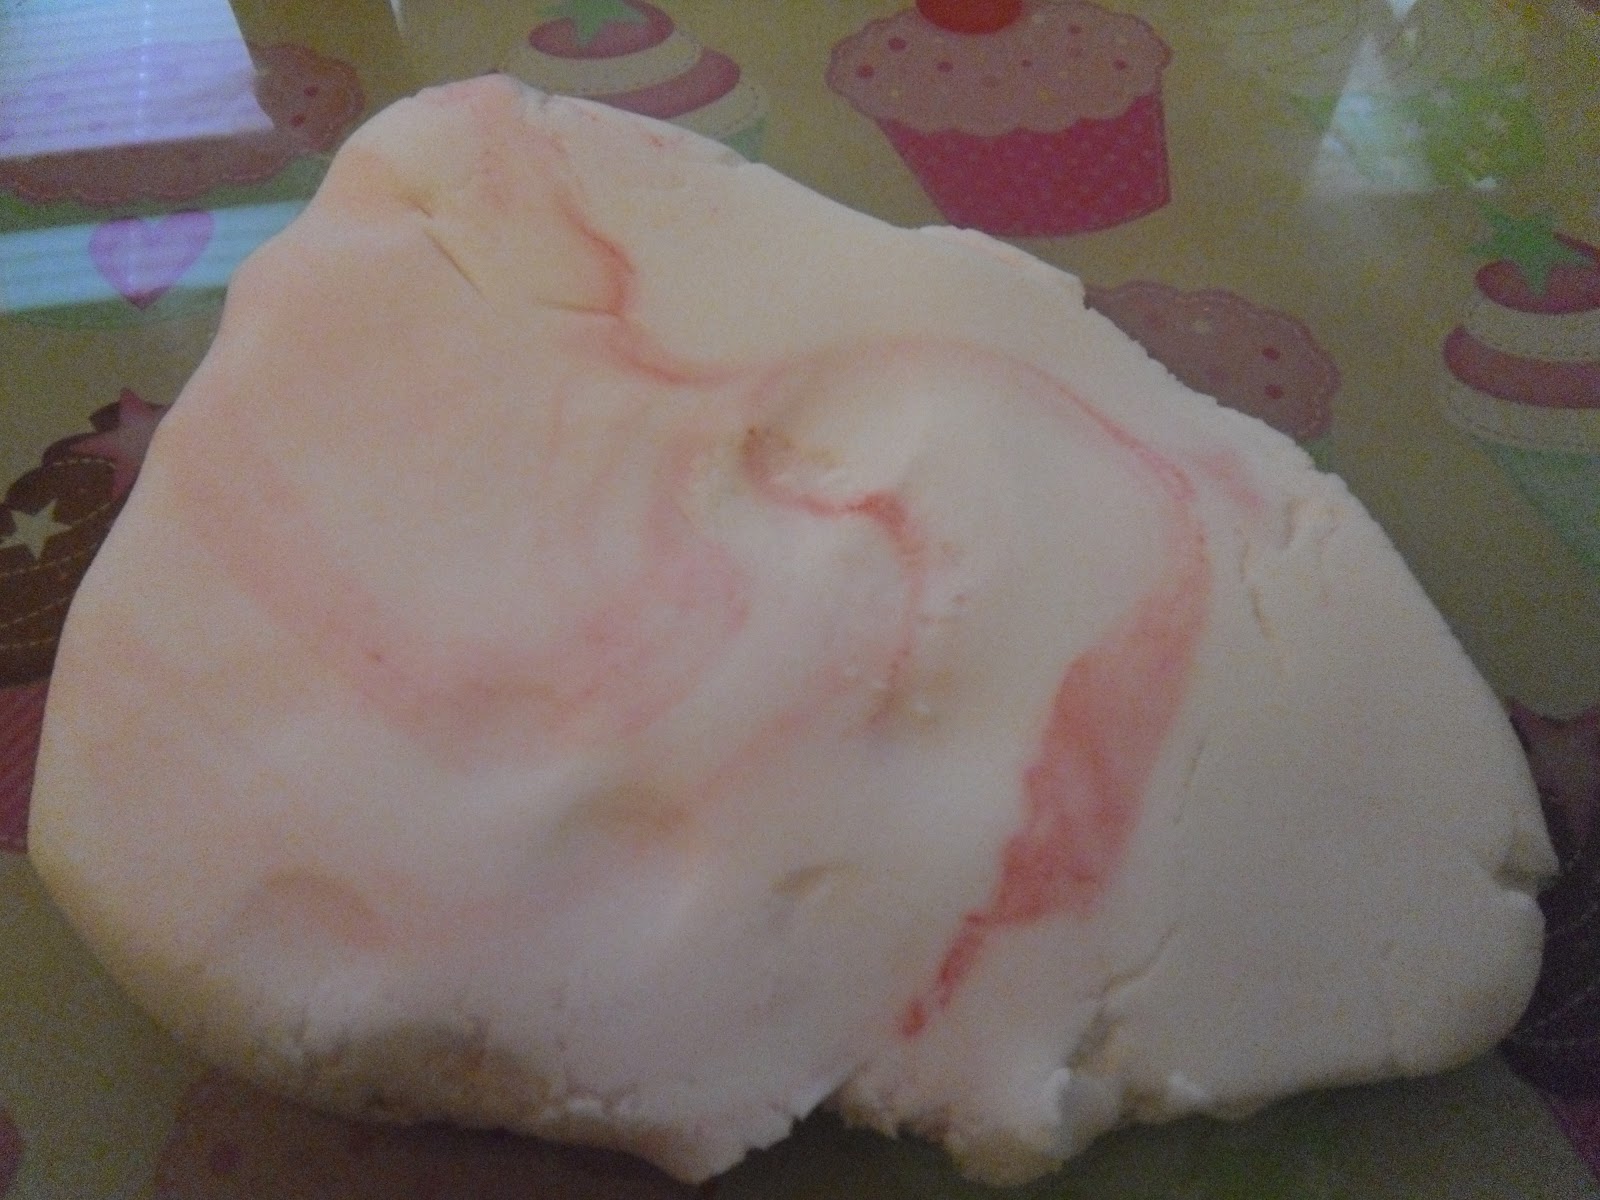
Using the pink icing I coloured in the colouring tutorial I made this pig.

Now - how to make it!

Firstly roll one ball for the head and a small one for the snout.

Then, flatten the small ball out into a slightly oval shape and make two small holes with a cocktail stick. Glue these on with a bit of edible glue or water (water takes longer to dry so I would recommend the glue here. You can get this from most cake suppliers)

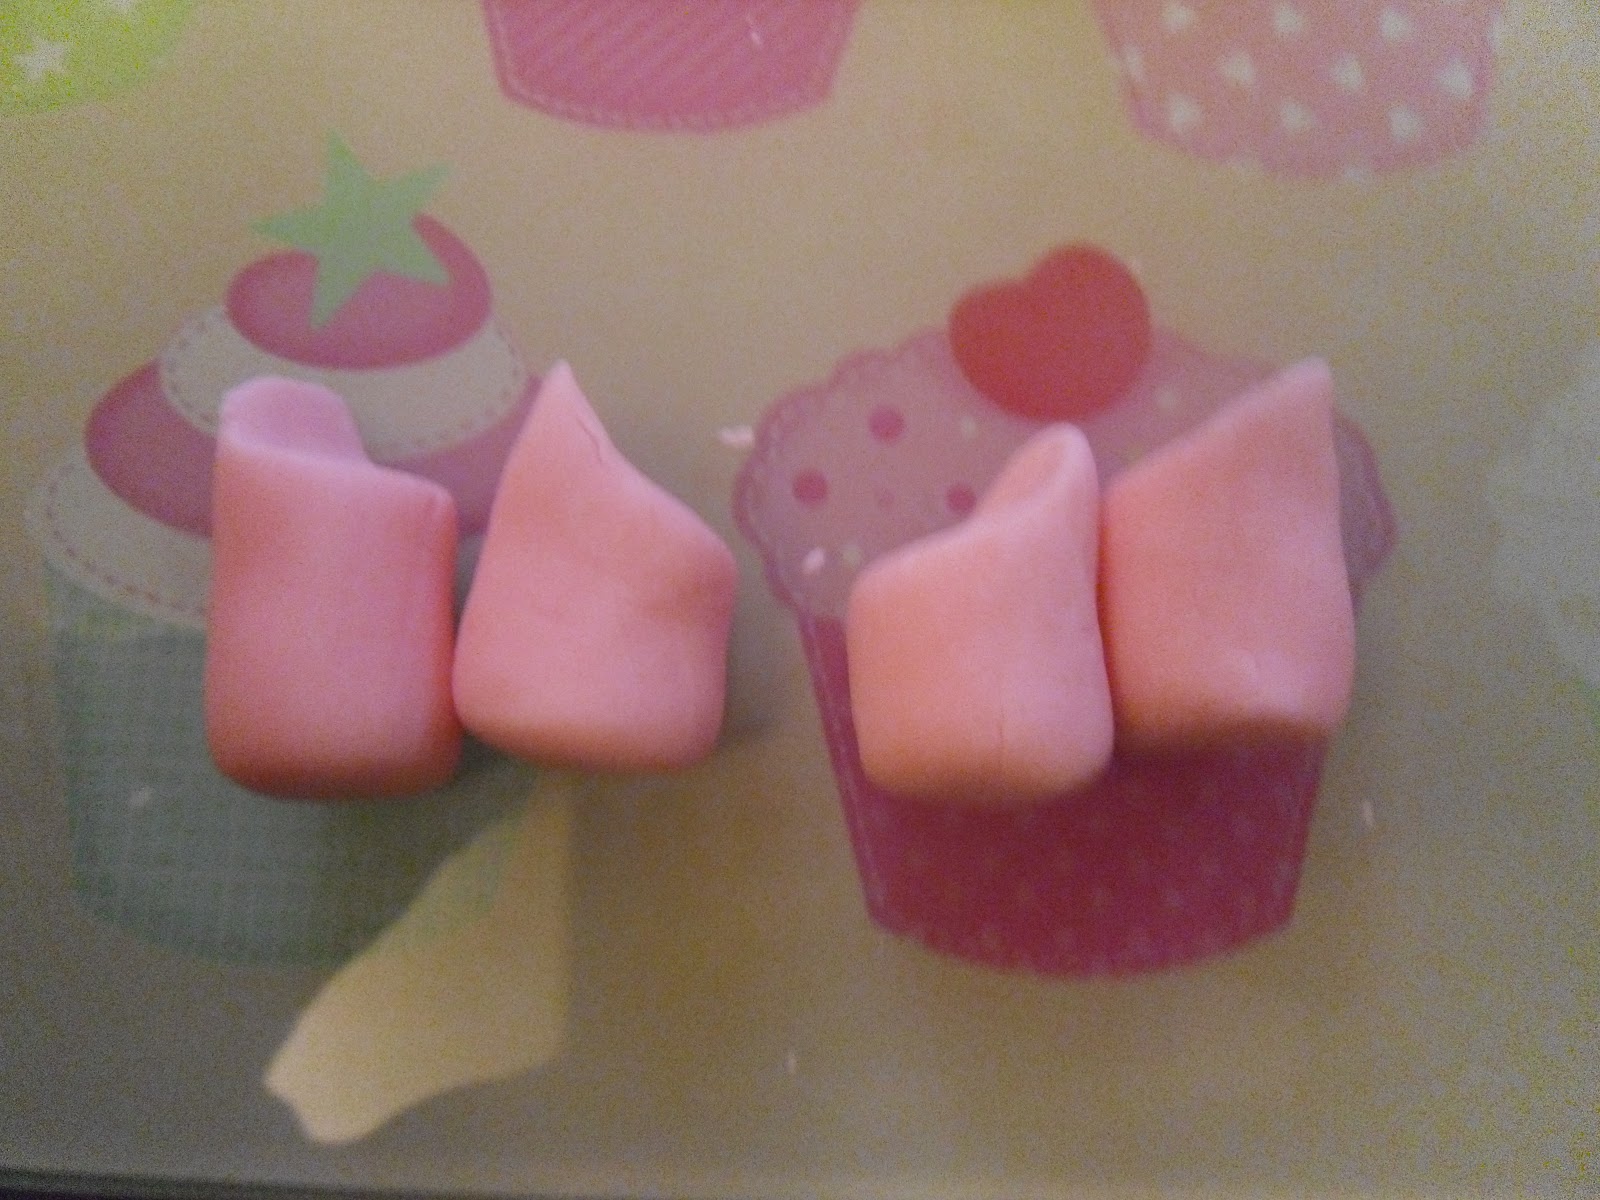
Then make two more small balls for the ears. Flatten and stape into little points. Using either a cocktail stick or a ball tool (I will detail the kit I use in a further post, but these are widely available at a range of prices, so shop around) make a small indent into the point to make the inside part of the ears


Then, roll out a ball a bit bigger than the head, which becomes the body.

You will then need to roll out a long sausage of fondant for the legs, and cut into four equal pieces. At one end of these pieces make a slight lip for the body to sit in

Then, glue the legs onto the body and leave to dry for a few minutes. As long as the legs are quite short, you shouldn't need to give the body any support, but you could use those little candy sticks inside the fondant as extra support. Once this is done and they have been left to dry for around 5 - 10 minutes, turn the body over, and glue the head on. You must support the head otherwise it will drop off!!

As you will see in the above picture, while this is drying I have made a thin sausage on fondant and wrapped it around the cocktail stick for the tail, leave this to set for a few minutes, make a small hole with a cocktail stick at the pigs, well, bum, and then add some glue to the tail and, insert.

Make two small holes on the pigs face as eyes, and add a touch of black gel colour on the end of a cocktail stick to make them black. Et Voila!

Kim.x.

Sunday 4 March 2012

Colouring Fondant - A Quick Tutorial

Right, now for colouring fondant. Firstly pick a gel colour. As I've mentioned before, only use gel colours for colouring fondant as the water based colours mess with the structure of the fondant.

For this example, I have chosen "Poppy Red" by sugarflair as I am aiming for a pink. You can add more of the gel to get a stronger colour, but to get the bright or deep colours you may want, I would recommend with buying the pre coloured fondant or add some to the fondant, and the paint a layer of the colour over the top to achieve a darker red.


Take your fondant and add some of the gel with a cocktail stick (don't add a lot otherwise you'll get more on your hands than on the icing!


Now you will need to knead the fondant until the colour is incorporated.
Warning - your hands do get stained and it is hard work!!

It does get a little streaky, and I would recommend adding a little more colour at this point (again to save your hands ffrom the start)

As you incorporate it more, it will look a little marbly, which is ideal if you want to add a marble effect to your cake.


After a while, it will become the same colour all over. As I said, I was aiming for a pink, so this is how I've left it.

Roses - The Tutorial

First of all you need to have some fondant with a touch of tylo so it will harden.


Then, roll a small amount into a ball then change the angle of your hands so you make a point like so:
This forms the centre of the rose.

Now roll out a small sausage, no longer than the height of the centre


Then flatten the sausage so it's very thin like a petal


Then wrap this around the centre of the flower like so


Gradually add more petals until a rose starts to form. Make the petals by rolling a small ball of fondant and then rolling it out into a petal shape on the ball of your hand (at the base of the thumb)


At this stage the base of your rose is getting pretty fat, so pick it up, squeeze the base and twist until it breaks off


Add around 8 petals or until you think you have enough, and done!


Friday 2 March 2012

Plaques

Hello!

In week two of my course, we learnt how to make "plaques" for cakes.

Now, whats a plaque you may ask? Basically a plaque is a piece of hard icing with either a figure, animal, words or numbers on. They can be flat, or 3D.

Now, the plaque I made in class wasn't too great as I didn't have access to all of my tools, so these are the two I made at home. I used the Dr Oetker pre coloured modelling icing for this, but you can use normal fondant icing with a small amount of either tylo or gum tragacanth.

The basic receipe for using tylo powder is 1/2 tsp per 250g of fondant. This needs folding in and kneading into the fondant until it becomes quite stretchy.I would always recommend when it comes to colouring the fondant you use the gel colours (Asda do a small range and they are currently 2 for £3 (as of 02/03/12)). Add this using a cocktail stick as you really don't need a lot! I will do a little tutorial on colouring icing soon! Warning - your hands get pretty messy and stained!


These are my attempts at plaques. You'll see they are sitting on white icing bases, and this is the plaque base to put onto the top of the cake.

Not to shabby for a first try!! I may attempt a pig at the weekend, so I'll upload that too, with maybe a tutorial on how to do it.

I have prepared the photos for the fondant rose tutorial, I just need to upload them which should be done over the weekend, so come back and check!

Speak soon.

Kim.x.